How to set-up to record your own gorgeous videos
Christie Goshe
This info is useful whether it’s a pandemic or not. I’m not a Zoom expert by any means, but people have been doing all kinds of things via online video these days that we never would have done before. Ahem, like getting married over Zoom? Yes, we did!
Follow these best practices to help your videos be as gorgeous as possible.
Before you start, find a great location (location! location! location!):
Audio
Pick a quiet location. Try to avoid background noise or large open spaces that might cause reverberations. Close doors and windows. If you are outdoors, make sure there is not too much ambient sound from roadways, airplanes, or wind.
Light
Natural light is best. Turn off any overhead or artificial lights. Sit so the light falls onto your face or the subject. The camera should be between you and the light source (read: do not sit with your back to a window). The ideal lighting is in open shade. Avoid direct sunlight (both indoors and outdoors) if possible.
Background
Prioritize the audio and lighting before getting too committed to a background. Once you know you have nice light and a quiet place, choose a spot that has some depth behind you (don’t sit right against a wall if you can help it). Good backgrounds are tidy and usually have some form of interest; try to have shapes and/or colors in frame.
Now for some recording tips:
Always shoot in landscape widescreen 16:9 mode. That means, rotate your phone on its side, so it’s wide like a movie screen.
You can record on a computer or phone.
Shoot in the highest quality you can (ideally 1920x1080 at minimum).
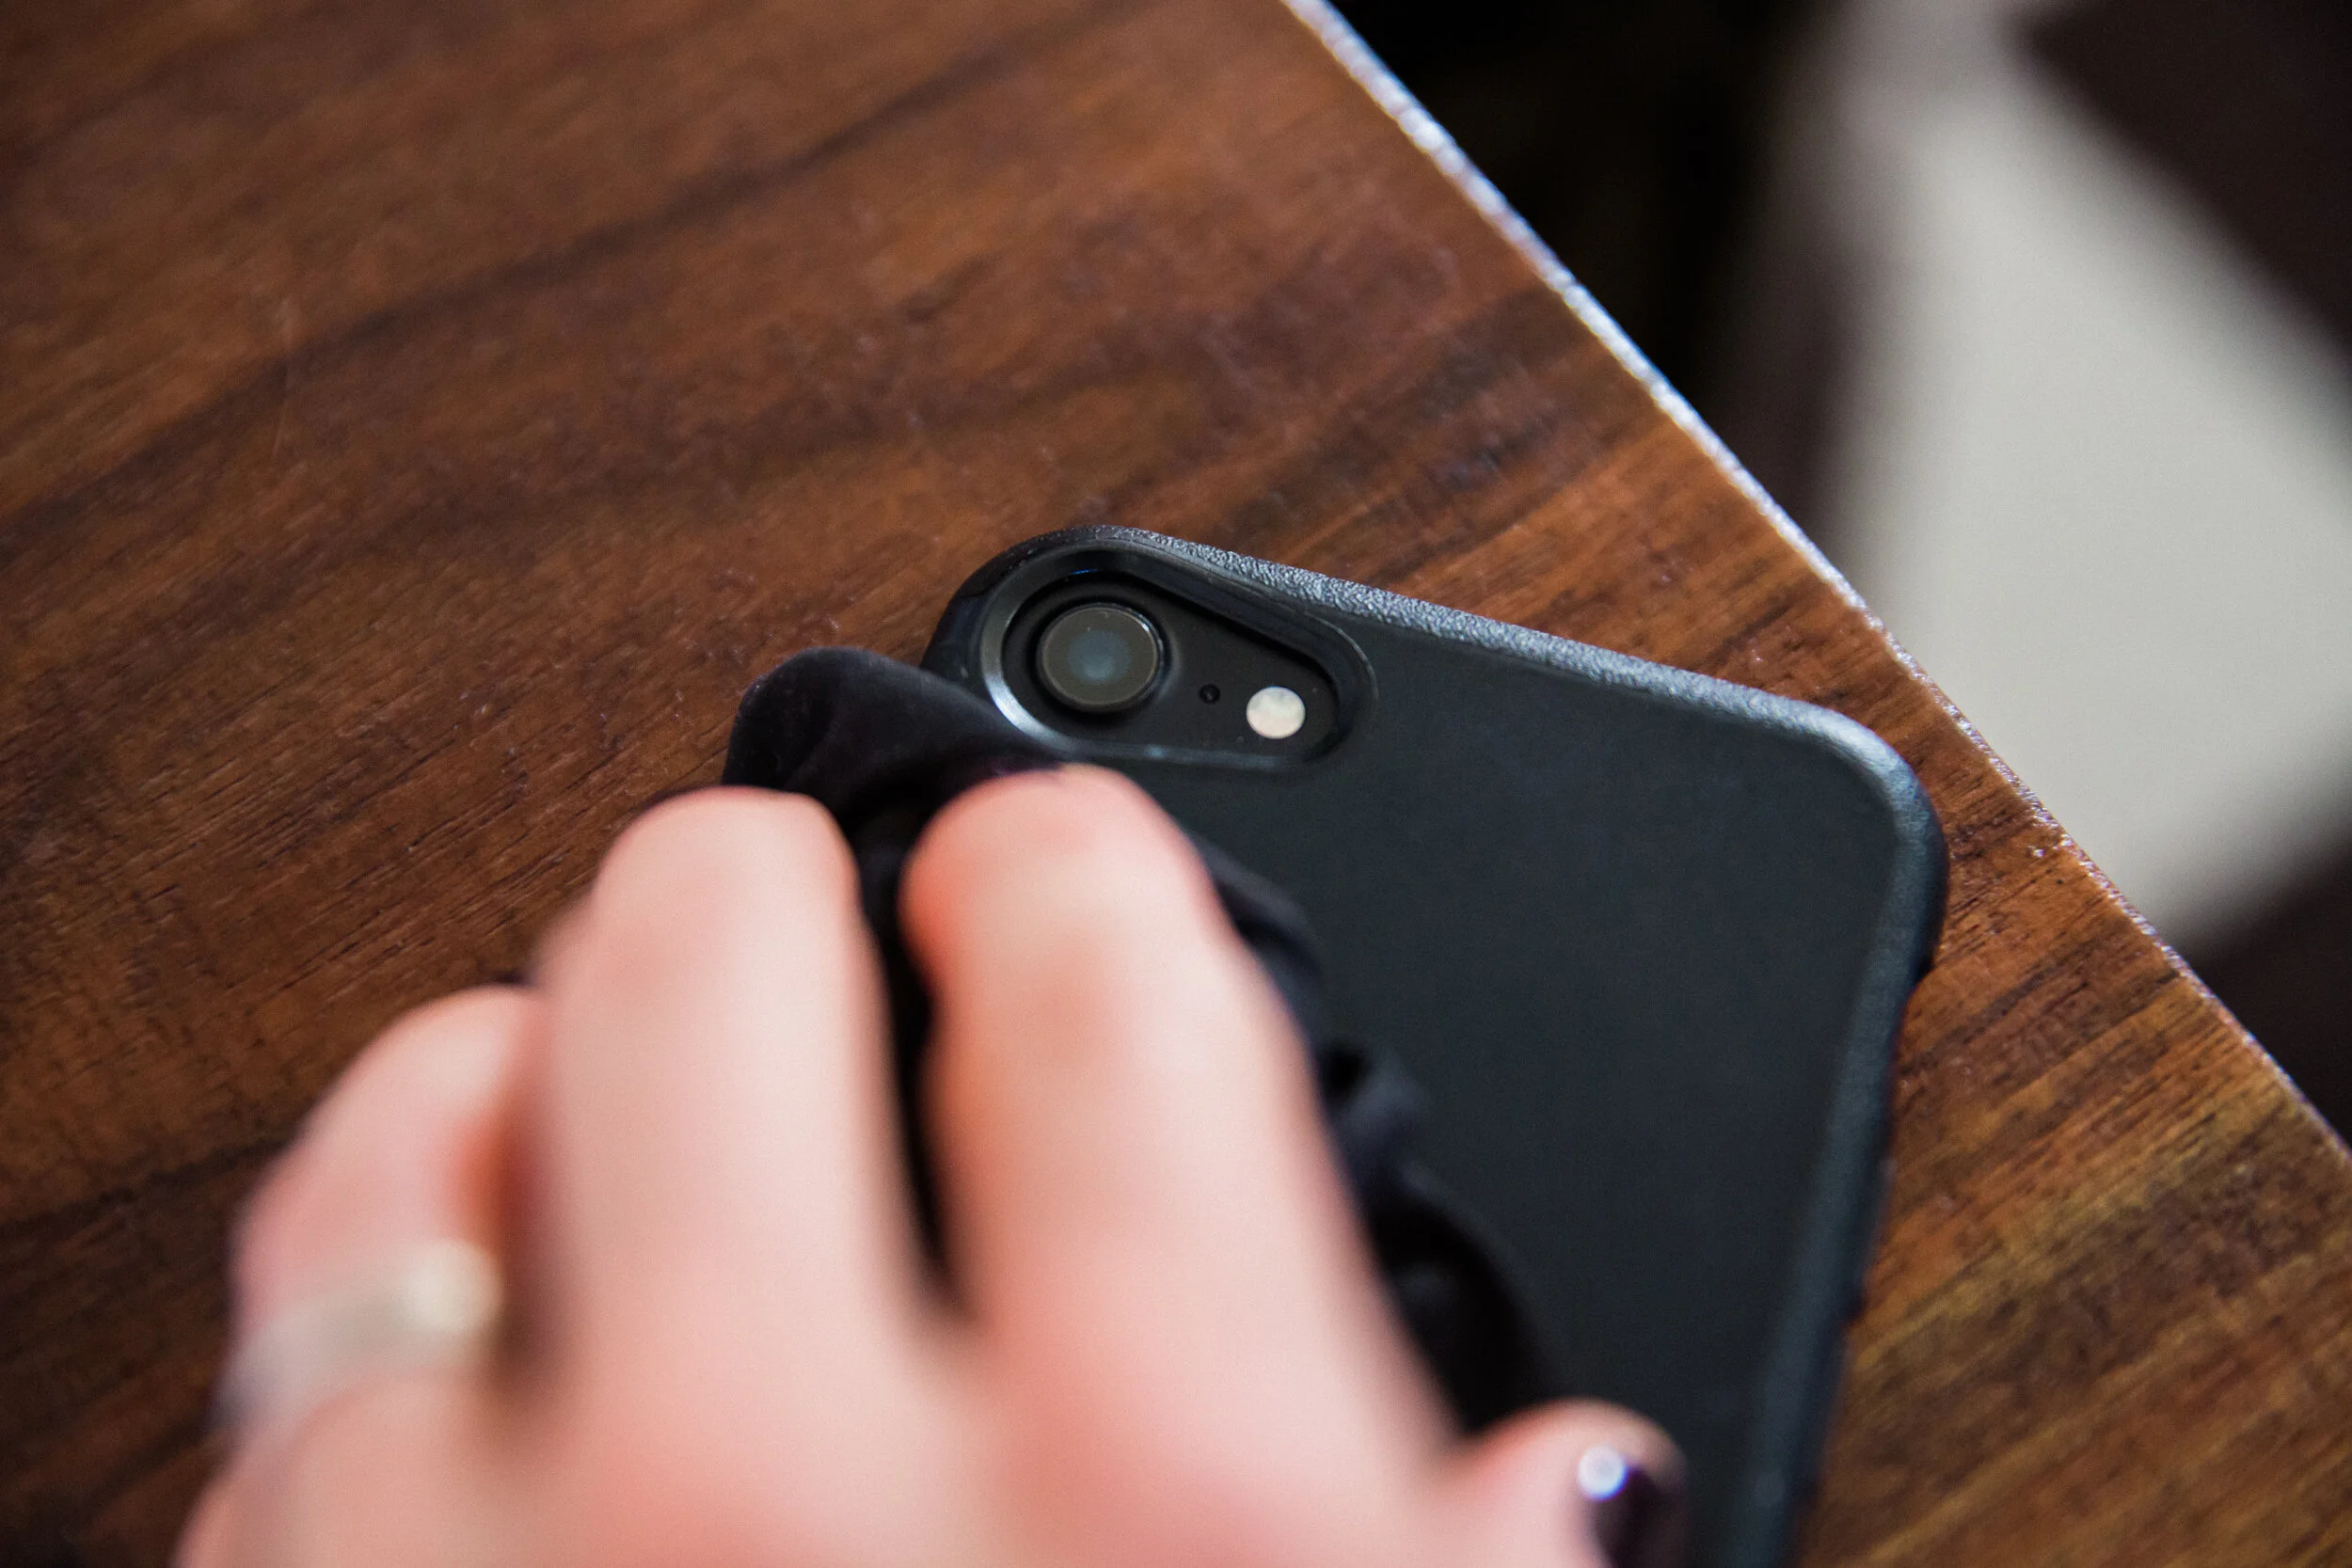
Always clean the lens before starting to record. This seems obvious, but is one of the easiest (and most common) things to forget to do!
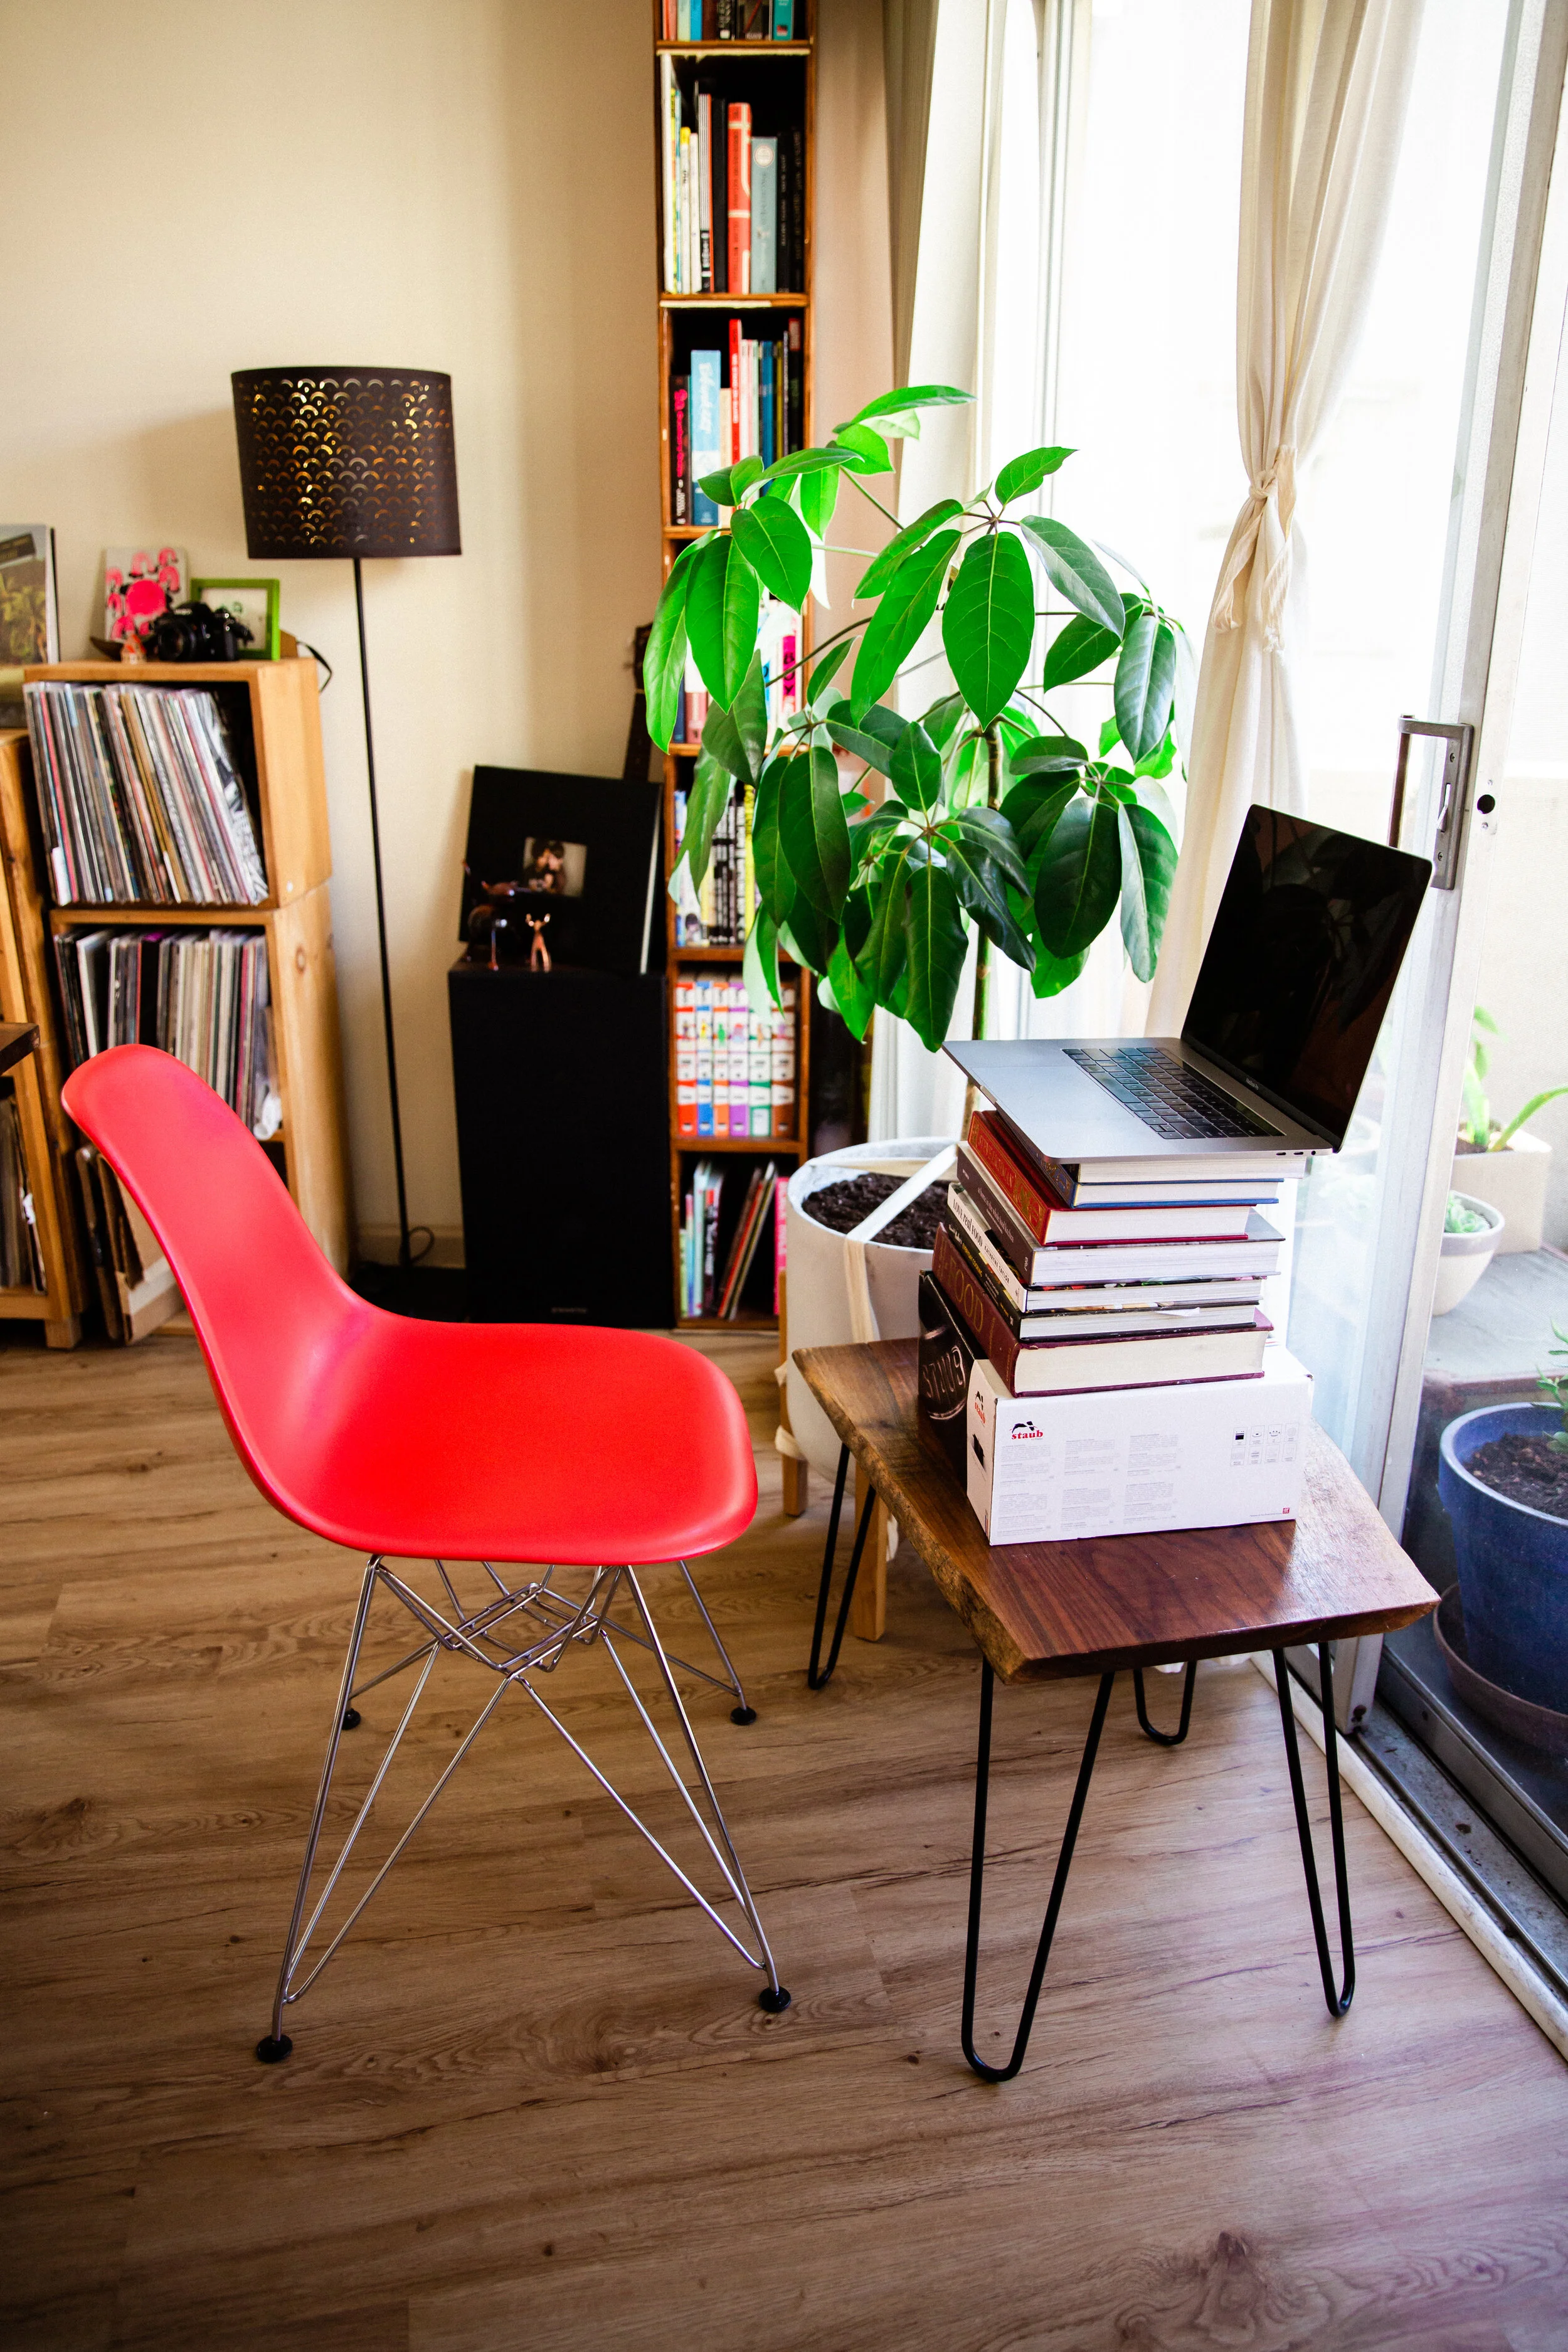
Stabilize and elevate the camera so it’s even with your eyes.
Use books, a computer stand, or tripod.
If filming a small dog or something low to the ground, lower the camera to be even with their eyes.
If using a table, just be sure to avoid leaning on or wiggling it.
If you are reading a script, move the script as close to the camera as possible, try to make some eye contact with the camera if you can.
Look at the camera, be natural.
Always use a microphone.
Even your dorky earbuds are better than nothing.
Recommended 3.5mm headphone jack mic for $25 (currently out of stock, but should be shipping in 1-2 weeks).
If you have a lightning jack, you’ll need to use a converter.
If you’re streaming live online:
Have a good internet connection.
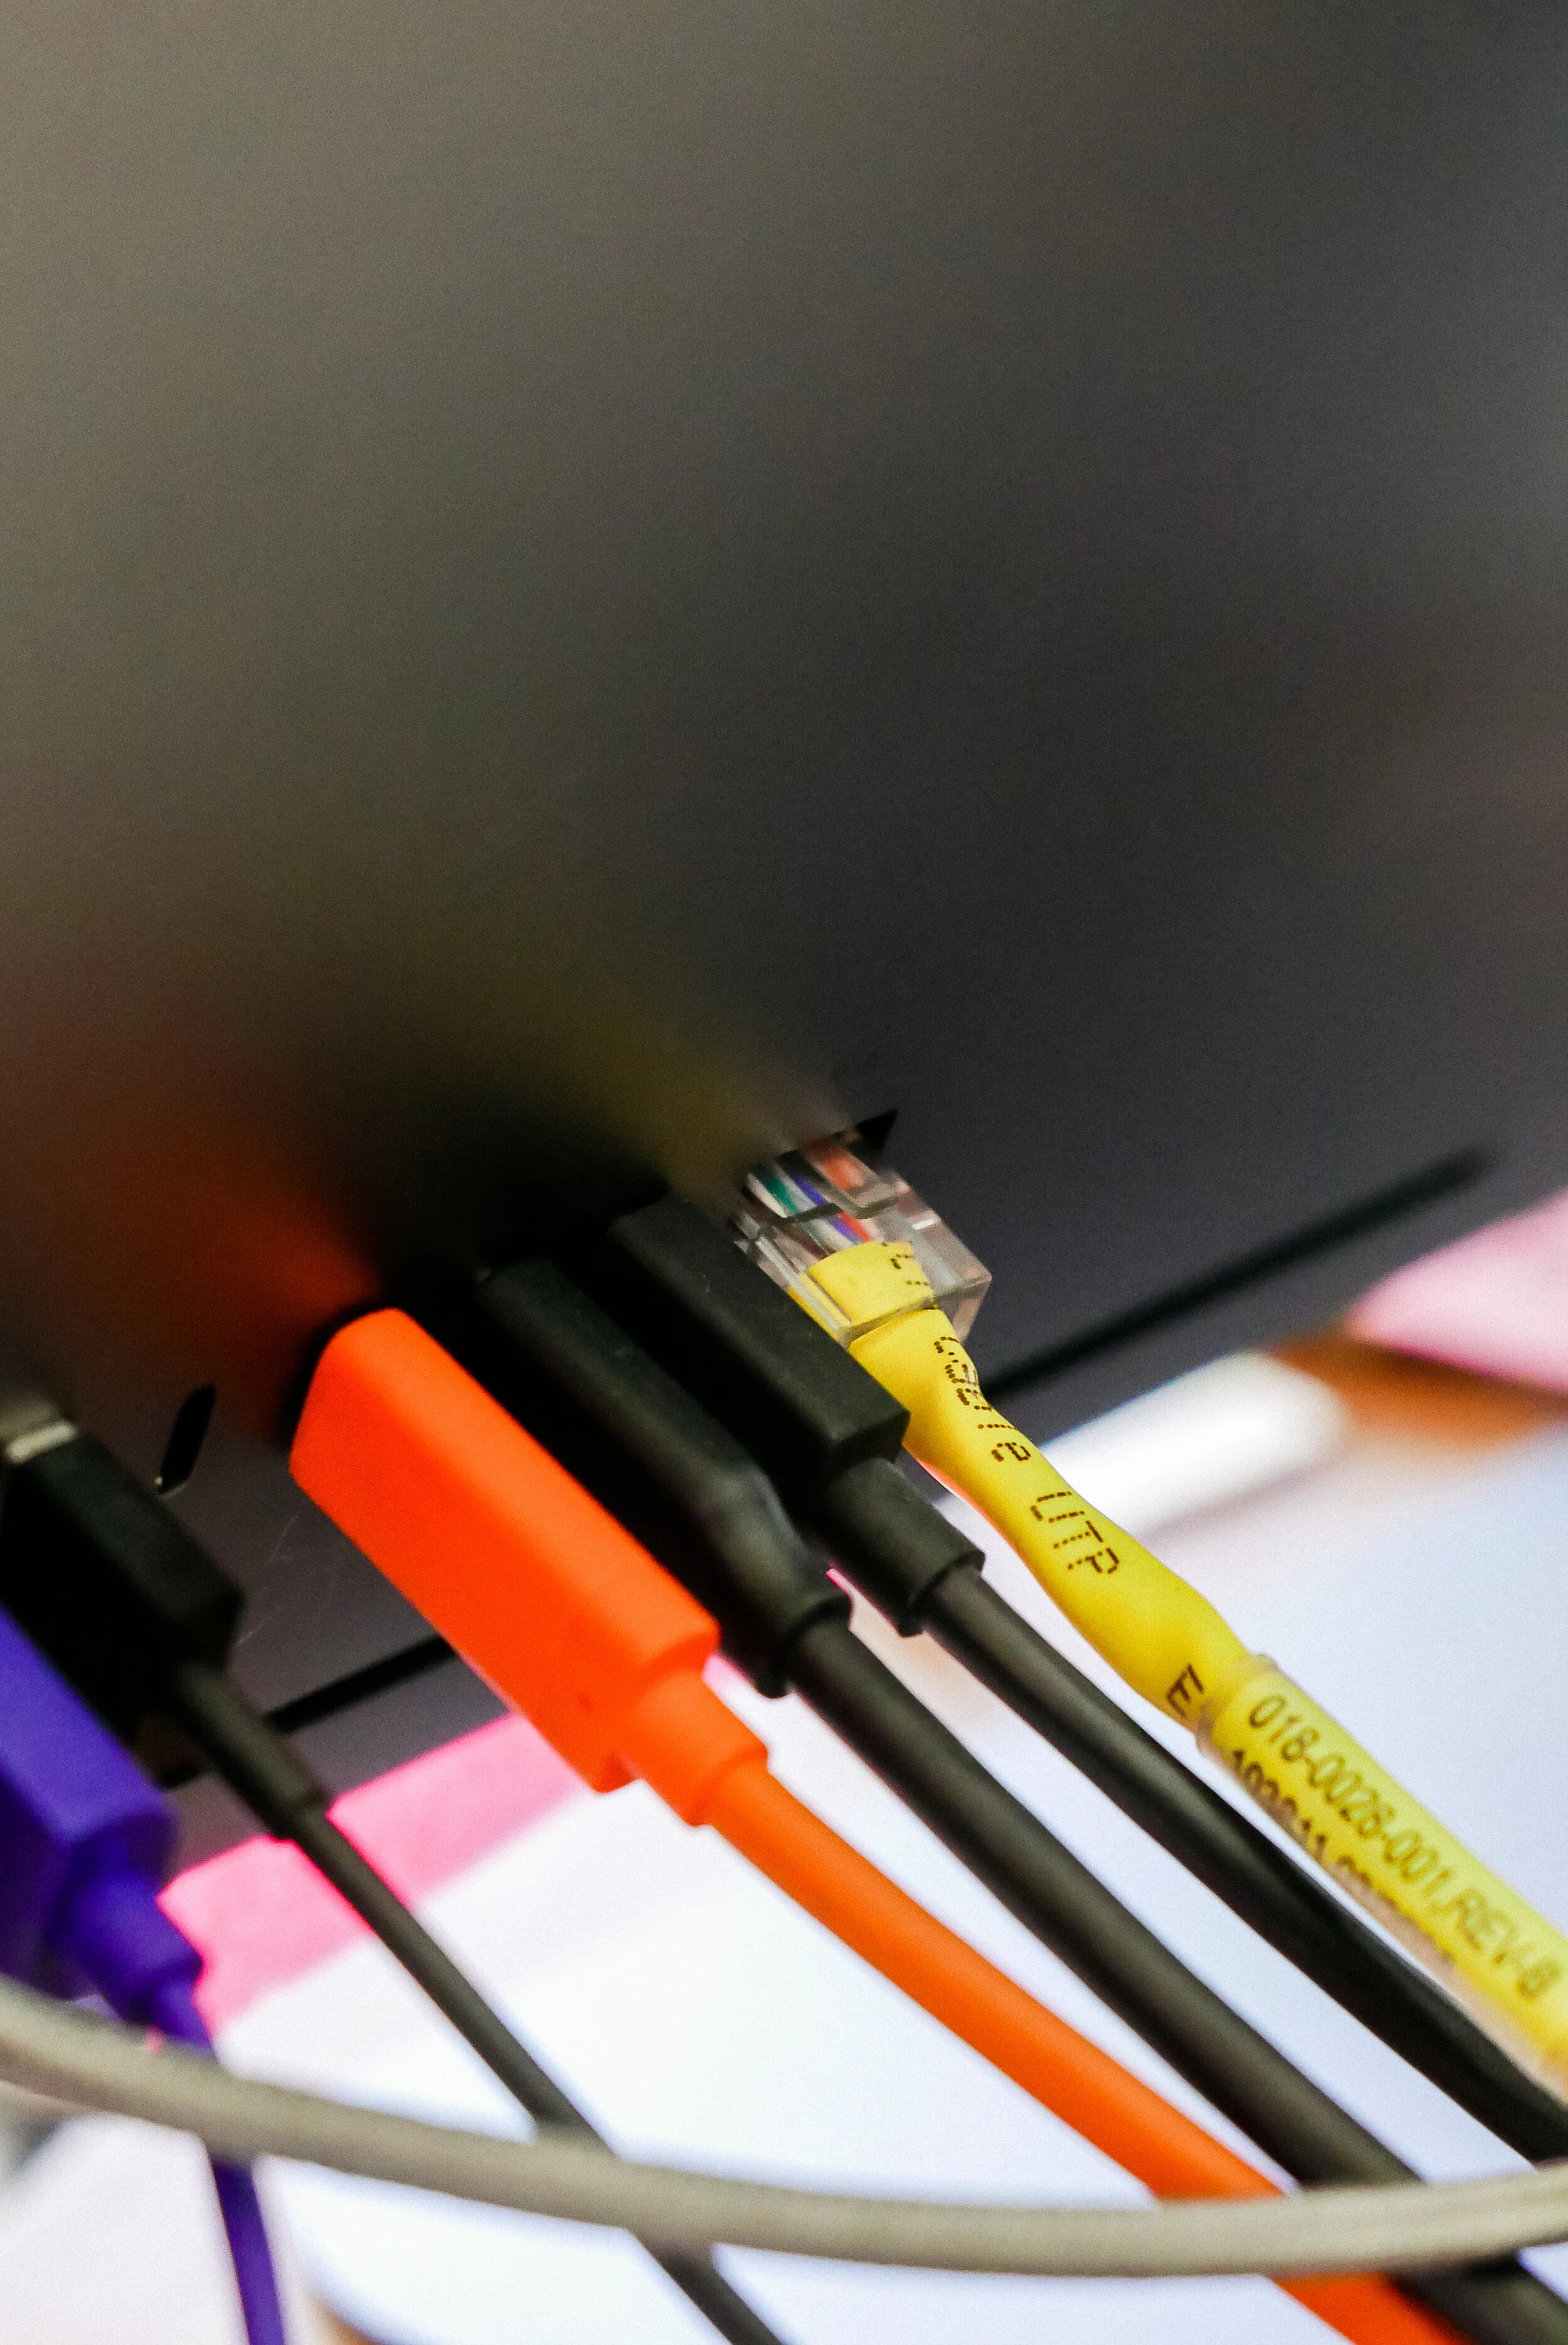
Plug into Ethernet if you can.
Or, sit as close to your wireless router as possible.
Make sure you’re connected to the fastest wi-fi option, often indicated with a “5G” after your network’s name.
Have a backup plan! Have your phone nearby so you can call in and turn off your video stream if your connection is choppy. This way viewers will still be able to hear you, and the show can go on.
If you’re recording for a producer/editor who will be editing your footage:
Make sure you have enough space on your device to save your files. Oftentimes you’ll need 10-500 MB depending on how long and at what quality you’re recording.
If you’re using your phone, put it in airplane mode if you’re not streaming live. This allows your phone to better prioritize the recording.
Do extra takes and record room tone (a few seconds of audio with you not talking). If you are not sure if your take was good, record it again, and upload all of the clips. That way we can choose the best one.
If noise interrupts your recording, please record another take.
If you don’t have a mic, use a voice recorder app on your phone and sit it down close to you. Do not touch the phone or surface it’s on while it’s recording.
Exporting media from iPhone to Mac:
Open the Image Capture app on your Mac.
Plug in your phone.
All of your phone's media should show up.
Select the media files and download them onto your computer.
Upload footage to Dropbox, Drive, WeTransfer, etc. so you can send it to us!


